How To Add Affiliate Links & Disclaimer to Blog Posts Without Plugins
If you’re a beginner blogger who is getting into affiliate marketing, you might have heard about these two critical components your blog posts should have. Yup, I’m talking about how to add affiliate links and the proper affiliate disclaimer.
And when you heard you needed to update the HTML coding for your links, you probably freaked LOL! How do I know? Because I was the exact same way. And even worse when you realized that you needed a legal disclaimer on every blog post in addition to your lengthy legal pages.
But don’t worry, I’ve already worried for the both of us on this lol. So I’ll make it easy for you and not only go over the importance of these two, but I’ll walk you through the steps with a super simple video tutorial.
Disclaimer: Please note this post may contain affiliate links. This means I may receive a commission if clicked at no extra cost to you. Though the opinions remain my own
Legal Disclaimers for Affiliate Marketing
Before we get into the “how to add affiliate links” part, you need to understand the legal part of it and what exactly it is.
An affiliate disclaimer is a written statement that explains you have (or may have) a relationship with companies, brands or products mentioned throughout your website.
But more specifically, it lets them know that this relationship means you are receiving some sort of compensation, whether it’s a payment or free product.
But it goes a bit deeper than just a single statement on your blog post. Besides this statement, you should also have the appropriate Disclaimer Legal Page on your website. In fact, did you know that the “disclaimer” you use on your blog posts is actually called a “disclosure” not “disclaimer”?
Yeah, it’s super easy to confuse and it’s not a big deal at all because normally, your disclosures are included in your disclaimers. I hope I didn’t lose you there LOL!
But the point is, you need to have two very important sets of legal information on your blog and your blog posts. So let’s cover each one in a bit more detail to give you a much better overview of why they are extremely important, especially when trying to make money blogging.
Want to learn how to blog legally for FREE? Check out this FREE Legally Blogs Course here that will teach you everything you need to know as a blogger.
Related Post: How To Legally Protect Your Blog (From the Beginning)
Disclaimer
So why is a disclaimer so important? Well, this actually goes well beyond affiliate marketing and making money blogging. A legal disclaimer is needed because it literally protects you from being held responsible for anything you post on your blog.
I mean, the last thing you want is to find yourself in some legal trouble because your blog “told” someone to do something to get “xx results” but they didn’t. Hence, this lets readers know that what you provide on your blog is recommendations but without guaranteed results.
Now let’s tie this together with affiliate marketing. Imagine if you were to promote a product on your blog.
Let’s use a camera as an example. You list out all your recommendations and why you believe it’s an awesome camera. Then, someone buys it and perhaps in bulk because they are a huge company (remember, this an example only).
However, upon buying it, half of the cameras break and now they’re pissed, like super pissed. They will likely try to come after you because you were the one who “convinced” them to buy the cameras. But by you having a legal disclaimer like this one on your website, it protects you from these kinds of lawsuits, which we definitely do NOT want.
Plus, most companies will not work with you if you do not have these on your website (for the exact same reason – to avoid getting sued). Makes sense, doesn’t it?
Don’t have your disclaimer pages yet? Check out this Disclaimer Legal Template here.
Disclosure
Okay but what about the disclosure? Well, a disclosure is exactly what I mentioned before. It’s a statement you should have on your blog post that lets the reader know of your relationship with any companies or brands.
In fact, the FTC actually mandates that you have an appropriate disclosure displayed before any affiliate links or promotional products are mentioned. You can read all about the FTC guidelines here.
Now the great thing about disclosures is that they are covered under the Disclaimers template. However, you are able to write your disclaimer yourself. Below is what I have written for my blog posts that you can use as inspiration (but remember, it’s never okay to copy).
Disclaimer: Please note this post may contain affiliate links. This means I may receive a commission if clicked at no extra cost to you. Though the opinions remain my own
Want an affiliate disclosure drafted by a lawyer? You can grab your extremely affordable affiliate disclosure here along with it’s bonuses.
Okay okay, the boring legal stuff is over now. 😂 And trust me, it’s not as scary as it sounds as long as you have the proper legal information in place. But now, let’s move onto the core of why you probably came here in the first place – to learn how to add affiliate links to your blog post.
And don’t skip out on the video because I also show you a super simple way to add your disclaimer to your blog posts. This method literally takes 2 seconds so be sure to check it out!
Related Post: 7 Different Ways to Make Money Blogging in 2020
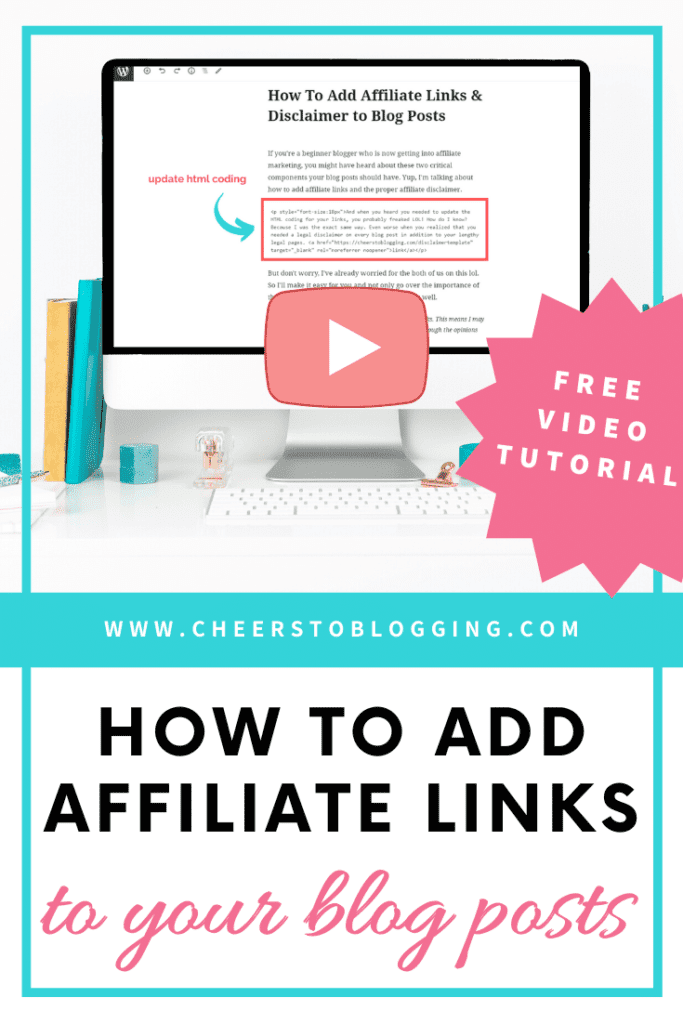
How To Add Affiliate Links to Blog Posts
Haha so this is the part where you’re going to get into your techy side and update some HTML coding. But I PROMISE you, it’s nowhere near as scary as it sounds (not for this anyways).
Adding affiliate links and labeling them properly takes literally 2 seconds without any special plugins.
But why do affiliate links even need to be labeled? Why can’t we just link the text and let it be? Let’s find out.
Importance of labeling affiliate links
To be honest, there is really one simple answer to why this is and that is to make Google happy. I’m not going to get into the super technical side but just know that you can get penalized from Google if you don’t properly label your affiliate links.
By properly labeling your affiliate links, you are simply telling Google that you may or have been compensated by the landing link in some type of way. It does neither you nor the company or brand any harm by doing this and keeps Google on your good side.
All you have to do is label your affiliate link as “=rel=sponsored”, that’s it. Here’s a direct article from Google which confirms this.
Related Post: Getting Started With Affiliate Marketing for Beginners
Step by Step Guide
But because this is something pretty technical, I decided why not show you how easy it is instead of just telling you. So in this short clip below, I’ll walk you through the steps on how to add affiliate links and disclaimer to your blog posts within a matter of seconds.
Click to view the video below.
Recorded with Screencast-O-Matic
That was super easy, wasn’t it? I told you it wasn’t so bad LOL! But in case you missed the tips I shared to make this whole process 10 times easier, here’s a quick summary:
1) After you add your affiliate link to your text, have it open in a new tab. This will help you easily identify where your coding needs to be updated. And plus, my recommendation is to always open affiliate links in a new tab anyways.
2) You can easily turn your disclaimer statement into a reusable block so that you can quickly insert them yourself into your blog posts within a few seconds.
Both of these tips save you from having to download yet another plugin that could potentially slow down your site so it’s a win-win.
And that’s it my friend. Now you know the importance of having a legal disclaimer and affiliate disclosure on your website and how to add affiliate links to your blog posts.
Ready to fully protect your blog? Take a look at this Legal Bundle Value Pack here.
Affiliate Disclaimers and Links Made Easy
This is how you should be feeling right now (hopefully lol). At one point, these two may have terrified you but they’re really not so bad.
And honestly, you might need to refer back to this tutorial video a few times before you remember the steps by memory but once you get it, you’ll really get it.
So tell me, doesn’t this look easy or what? Are you ready to start making money blogging (the right way)? Please share your thoughts below as I would love to hear from you!
And remember, there is always something to be happy for… Cheers to blogging! What are you cheering to today?
Lucy

Great Post!
I remember when I first got into blogging all the legal stuff made me very nervous. I can imagine a lot of beginners getting a lot of value out of this. I’m going to pin it.